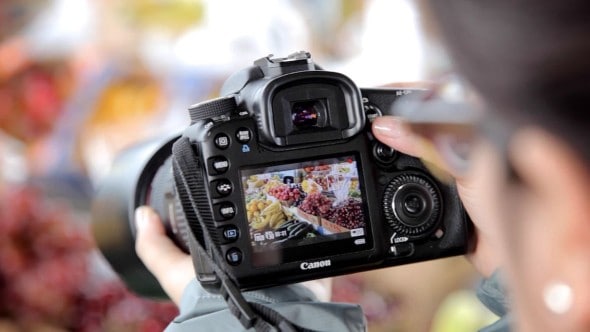
Before we delve into shooting a food video, I think it’s worth sharing a little technical information.
Did you know? Video relies on deception. When still images are played in quick succession fast enough our eyes are tricked into thinking we’re watching natural movement. These images are called frames. Anything faster than 15 frames per second (FPS) will do the trick though the standard frame rate used in video in America is 24, 30 or 60 FPS - more on these numbers later. That’s right, when you go to the movies, you’re really just looking at about 130,000 pictures.
Food Videography vs. Food Photography & Setting up the Shot
That’s where the similarities end though. There are three creative aspects unique to videography: movement and action, the passage of time, and audio.
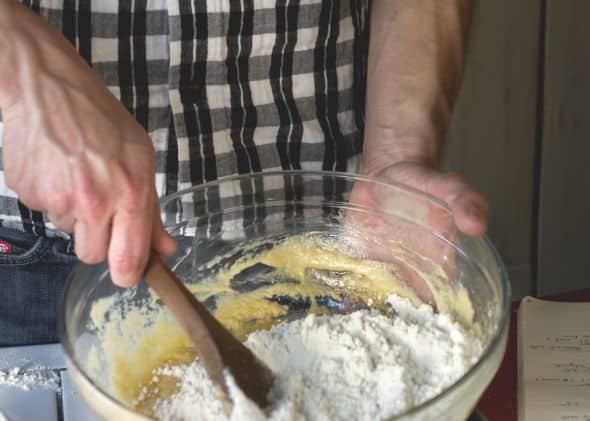
Movement/Action: Think of steam rising from a dish, or bubbles in a boiling liquid. There is natural movement and action all around us in food that make food videos stand apart from photography. Also think about the action we encounter when we cook or bake, like mixing. While a stand mixer whisking away can be beautiful, it doesn’t have the same effect as a mother guiding her daughter’s hand in mixing together a cookie dough. Try to tell a story with the movement and action inherent in food and cooking.
Time: Whether played back at normal speed, sped up, or slowed down, time plays a large part in the visual appeal of a video. Editing also plays a large role in how time is perceived. No one is going to want to watch dough rise for two hours but compressing those two hours into 90 seconds of time lapse footage can be very entertaining. Time doesn’t have to be sped up or slowed down to make a video interesting. Many real-time processes in the kitchen can be fascinating to watch.
Audio: While time and action can be conveyed in a photo, it is almost impossible to convey any sort of sound in a photo. Whether the sound is from your kitchen, a narration, or a song dropped in, audio will have a big part of the video and can make or break a story. In fact, the audio can often tell us more than the visuals - think sizzling vegetables in a skillet, a tea pot whistling or a trusty kitchen timer going off.
You don’t need a lot of equipment to shoot food videos. These tools can make the job much easier and give you a great product:
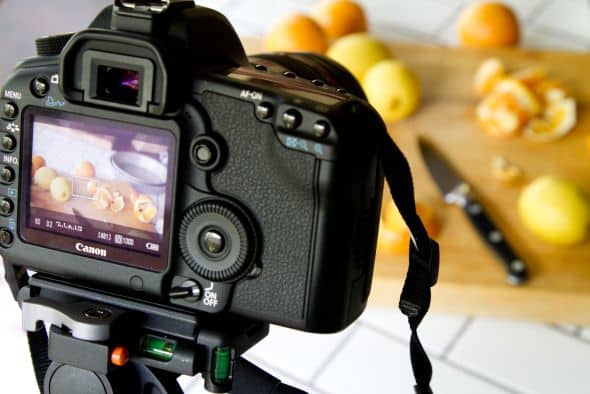
Lenses: While very wide lenses typically don’t look good with food and extreme telephoto lenses are impractical to use, you can use almost any lens you like for food videography. It depends on the aesthetic you are going for and how far you will be from your subject. Choose the same lens you would use for shooting a photo of food. Beware of a lens’ flaws when shooting video though; videography tends to draw attention to and exaggerate flaws, especially a lens’ softness.
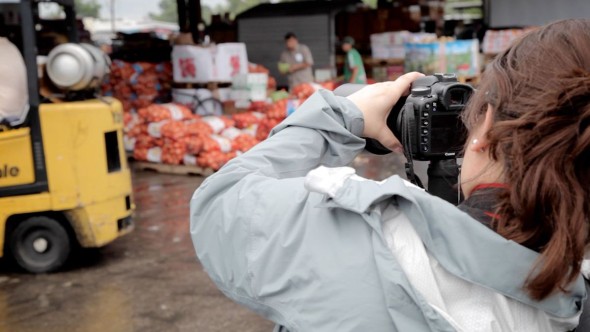
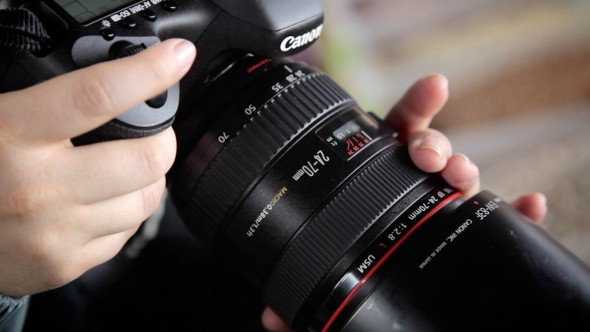
Zoom vs. prime: I prefer zoom lenses for videography, especially if I’m shooting at a market or public location. Jumping from one focal length to another without changing lenses it very handy. I use two lenses most often: the canon 24-70 f/2.8 L and the 24-105 f/4 L IS. I use the 24-70 when I want a shallow depth of field and the 24-105 when I know I will be using the camera handheld as the Image Stabilization feature helps reduce handshake (it is also much lighter than the 24-70).
The Classics: Chocolate Cake
Support: It is best to shoot with your camera mounter on a tripod or a monopod. Handshake and camera movement can become distracting for the viewer - and the longer you are out shooting, the more exaggerated your handshake will become. If you don’t have a tripod or monopod, you can shoot handheld by locking your elbows into your gut - the closer the camera is to you, the less likely you are to shake.You can also utilize lenses with Image Stabilization.
Reflectors/Lighting: Reflectors and diffusers are incredibly helpful for almost any shooting condition. While I always suggest shooting food under natural lighting (the sun), you can use tungsten, or daylight balanced lighting. You’ll want to diffuse any artificial lights.
There are two big differences between shooting video and shooting photos. First, Shooting video on DSLRs requires shooting in full manual - that includes manual focus. (There is no way around this as any feature left on auto will make changes while you shoot. These changes are very noticeable and never look good.) Second, post processing video is much trickier than editing photos. For this reason, it is best to get white balance and exposure correct when shooting.
White Balance: Most cameras have excellent auto white balance features though I suggest manually calibrating white balance to ensure accuracy. If using manual white balance, be sure to recalibrate white balance every time you change locations, or if the lighting changes. Trust your eyes though don’t become dependent on your DSLRs screen. If it looks off, use another setting.
FPS: 24fps will have a “film” look with smoother movement. 30fps will have a “tv” or “documentary” look - I sometimes call this a hyper-reality look as movement is more apparent and vibrant than it is smooth. 60fps will let you slow footage down in editing - use this setting if you plan to use any sort of slow motion. Stick to one frame rate for a particular video.
ISO: Shoot at the lowest possible ISO the situation and environment allows. Digital Grain never looks good.
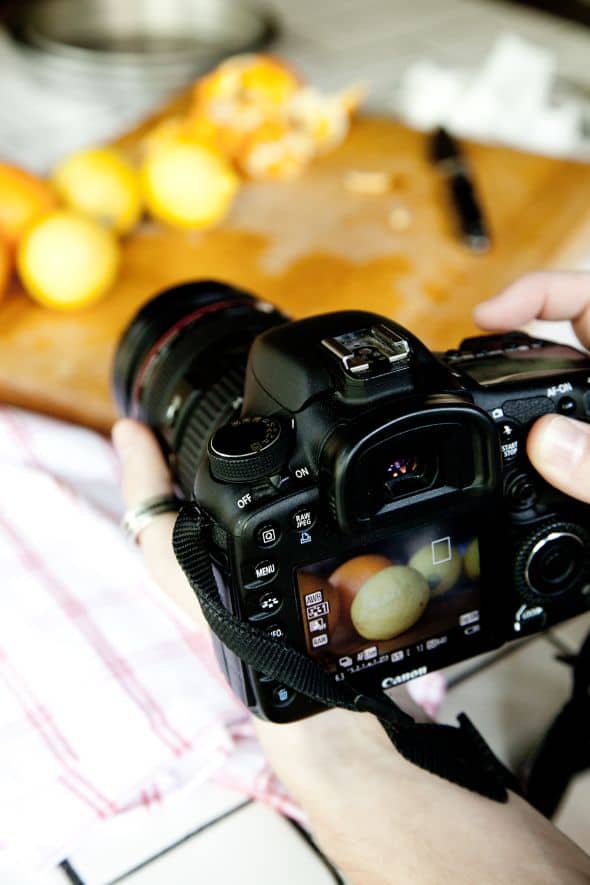
Aperture: Shallow depths of field have a magic ability to make food look gorgeous. That being said, you want to typically avoid a lens’ extremes (wide open or closed) as these apertures can create flaws and an unattractive look. Take time to experiment with apertures to find your lens’ sweet spot. Of course, a little softness can give a video a dreamy look though.
Shutter Speed: Many DSLR videographers will suggest keeping a shutter speed at 1x or 2x the FPS (1/30 or 1/60 for video shot at 30fps). This rule came about because of the invariable nature of the shutter in old film (movie) cameras - which gives an object in motion a little motion blur to keep the film from looking jumpy. I personally don’t abide by this rule as I don’t feel it is relevant with today’s technology, though I will try to keep shutter speed below 1/1000, especially when shooting something in motion. Take time to experiment with shutter speeds on your camera.
Audio: While this isn’t important if you aren’t using audio you record while shooting, it is imperative you monitor (and adjust levels if your camera lets you) while recording. If you plan to record audio, I suggest buying a separate audio recorder. DSLR microphones are unfortunately rubbish.
Camera Settings: I suggest turning off any sort of in camera sharpening, color, saturation, or contrast adjustments. Most of these don’t translate well to video and little tweaks like this can be done in editing.
Technical details aside, videos are great for telling a story. You can capture much more than you can with photos. You can also give readers a chance to join you in your kitchen, as you guide them through your favorite recipes.
Chocolate and Vanilla Pudding
Editing
Most computers today come with video editing software. This software is great for the basics and that is often all you will need to do. Keep it simple. Pay attention to pacing, and the narrative. Also, remember that our attention spans are very short. I try to keep food videos between 2 and 5 minutes and most my shots are no longer than 4 or 5 seconds each.
I suggest cutting your footage first. Then, add effects, transitions and filters. Drop in and edit audio last. Also, save often - few tasks will arouse more frustration than editing when your program eventually crashes and you realize you haven’t saved in over an hour.
Post Processing: Most editing software comes with all sorts of filters and effects you can add to footage. Depending on the look you are going for, these can add visual interest to the story. Be careful with being heavy handed here as it can detract from the food and come across gimmicky.
Transitions: There are numerous transitions available. Whether it is a straight cut, fade, dissolve, wipe, rotate or special effect, you have a lot of options at your disposal. I tend to avoid any sort of special transition and in fact 95% are straight cuts (containing no dissolve or transition). Dissolves and fades can often indicate that time has passed between two clips. Straight cuts tend to signify a continuation of time.
Editing to music is very common in food videography and can help give the narrative or video auditory appeal. It can also be used as a backbone for editing or the narrative itself. Don’t skimp on kitchen sounds though; some of them are fantastic!
Uploading is easy. In fact, most editing programs will do it for you - sending it straight to youtube or vimeo. I always suggest uploading your footage at the highest quality available. If you shoot in full HD, upload the video at full HD. DSLRs create beautiful videos. Why not share that?
Vimeo: I prefer Vimeo for a few reasons. Primarily, their HD compression is excellent. They also tend to attract professional users, so there’s less of the amateur stigma that can surround YouTube.
 Bio: Russell van Kraayenburg is Creative Director at Rambunctious House Media and author of the from-scratch baking blog Chasing Delicious and Kitchen 101 educational series. Visit rvank.com for more information or chat with Russell on twitter at @rvank.
Finding Props for Food Photography with Naomi Robinson | Summer Food Photography Series Part One
Styling for Food Photography with Chantelle Grady | Summer Food Photography Series Part Two
Food Videography with Russell van Kraayenburg | Summer Food Photography Series Part Five
Q&A with Food Photographer Jim Scherer | Summer Food Photography Series Part Six

Sylvie Shirazi is the recipe developer and food photographer behind Gourmande in the Kitchen. For the last 10 years she's been making eating more healthfully easy and accessible with gluten-free, grain-free, paleo and vegan recipes that are free from processed ingredients.

Asmita says
What a fantastic post since I just shot my first video blog last week. I had a lot of fun with it but am still learning. This has been very useful.
Thank you so much.
Kristen says
As you know, this is something I would really love to learn how to do. Wish I would have bought the camera with video capabilities. Makes me want to upgrade sooner!
Diane {Created by Diane} says
I think Russell has inspired me to do video 🙂 great post!
TidyMom says
FABULOUS post Russell! My Nikon D7000 has video and I've never used it, you've inspired me to give it a try!
Reem | Simply Reem says
Love this post...
Russell is so talented!! I love his blog..
Will try making video sometime...
Joanna @ Chic & Gorgeous Treats says
I popped over from Russell's ;). Both of you have such amazing talents, and truly inspiring.. There's so much more for me to learn in terms of photography, and have not thought of food videography. Can't wait to experiment in this area too, to continuously progress further in food(ography). Have a wonderful weekend ahead! Cheers, Jo
Jen @ Jen's Favorite Cookies says
These videos are fantastic. I think I would be a little out of my depth if I tried this right now! Maybe next year?
Brian @ A Thought For Food says
You outdid yourself, Russell! Damn!
Kitchen Belleicious says
awesome information- bookmarking NOW