
With more than 20 years experience styling for many of Chicago's most successful food and product photographers, she has a wonderful eye for detail and a unique talent for combining tones, textures and shapes to create some truly unforgettable images. Today she shares with us her basic approach to choosing props for an image.
Hello everyone, I am so honored that Sylvie has asked me to guest blog on Gourmande in the Kitchen! I have been an avid follower here for close to a year now, and very excited that not only do I get to share my passion for prop styling with you, but voice it on one of my favorite blogs.
Based out of Chicago, my work is primarily shooting alongside commercial food photographers on projects ranging from national ads to recipe books to corporate websites, wherever a food client needs to promote their product. You can see more of my styling at chicagophotostylist.com.
Sylvie and I both received questions from readers regarding effective use of props in food photos. For many new to food photography, getting a starting direction is a challenge.
Before you start selecting props you should truly know the food you are shooting. You need to understand the texture, color, volume, consistency before you can build an effective set. If you have not made the recipe prior to your shoot day, draw on your skills to visualize what it will look like.
You may find it helpful to make a list of keywords that come to mind when you select your recipe. Jot these down in the planning stages of your post, and use them to gather props for your shoot. If your thought process takes a different turn along the way, go with it. Allowing a natural progression will translate into your image and keep it from looking forced.
Next you need to zero in on something that will inspire your set, or at least get you started in a direction. Your inspiration can be a tangible prop item, or center around a story.
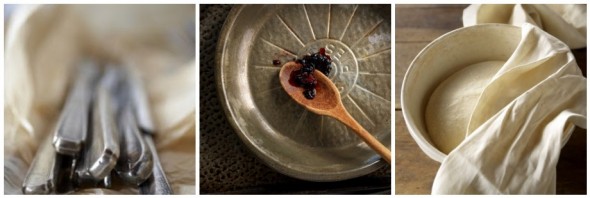
Prop centered:
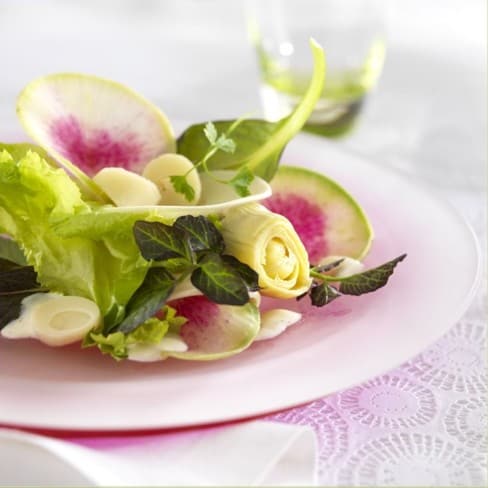
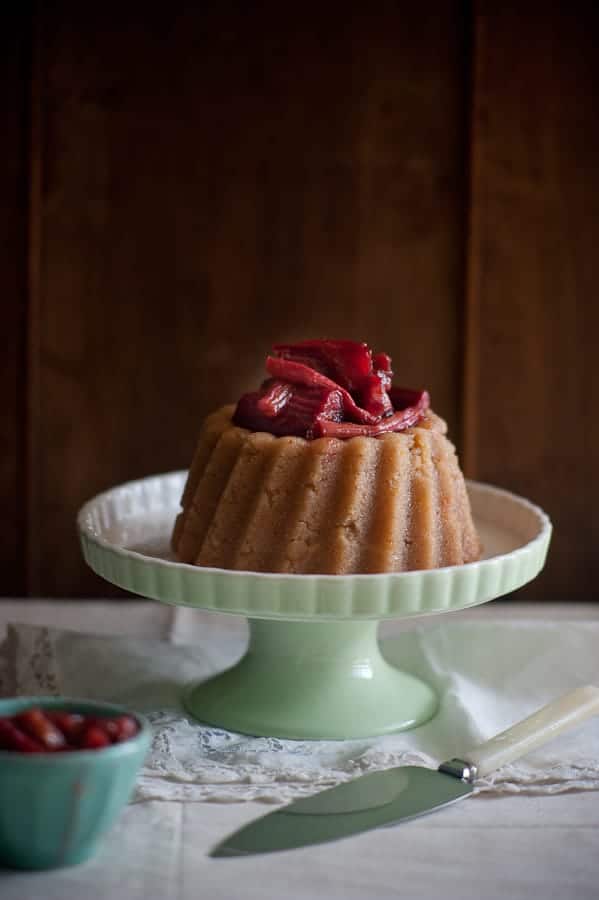
Inspiration can be a propping element, like a plate you wish to use, a fantastic background texture, a fabric. This shot was driven by the surface color & texture.
Look for different ways to present your food, alternatives to traditional plating. Keep your mind open to using everyday items, like papers and jars.

You can also explore ideas for propping as part of a thought process with more of a story behind it:
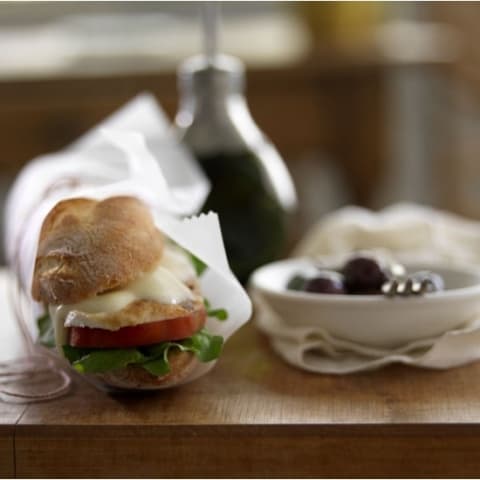
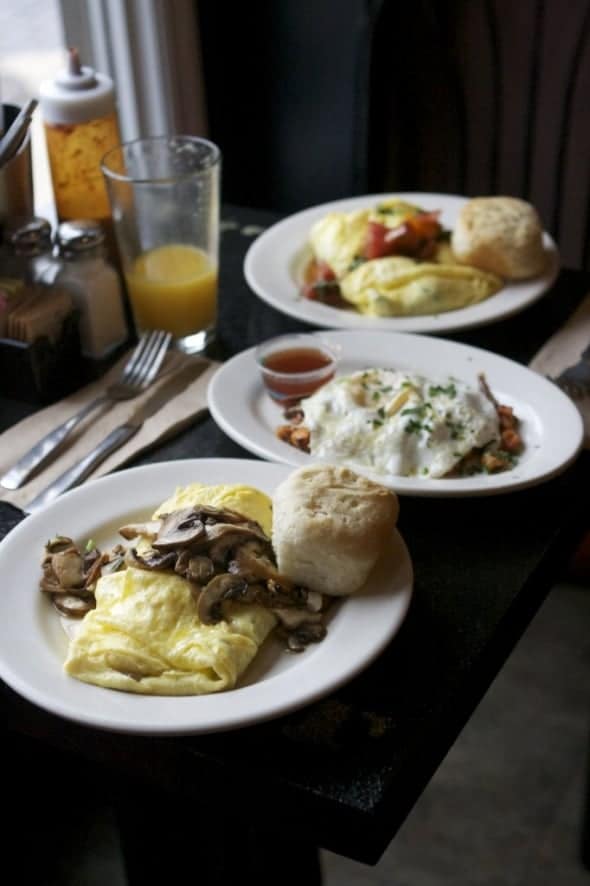
Time of Day:
Is your recipe a breakfast,lunch,dinner? The props work with both the food and morning light here-

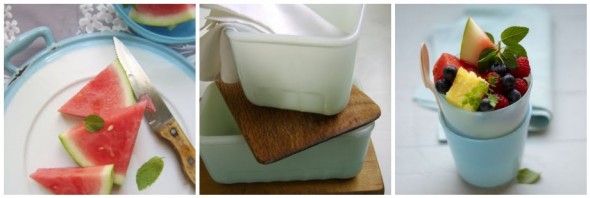
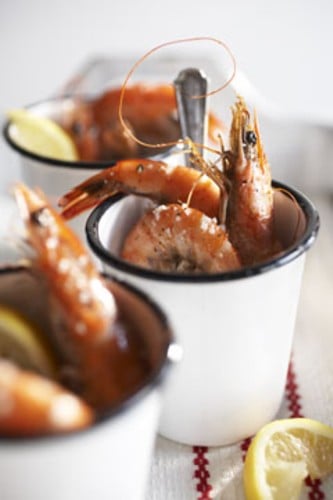
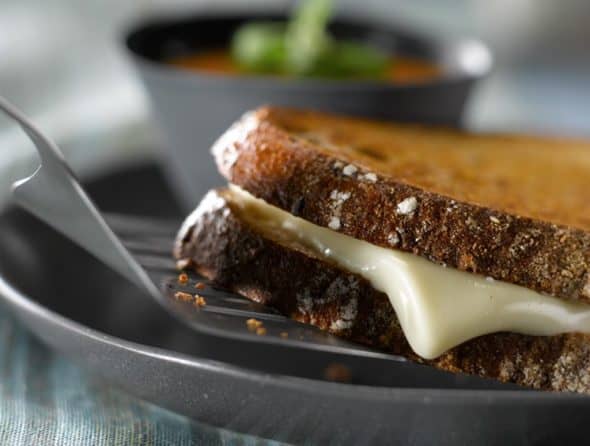
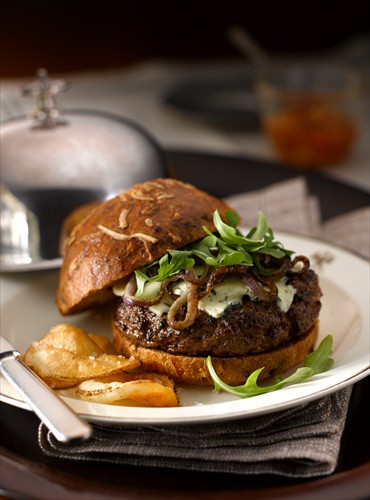
Season or Holiday:
Establishing season can help guide the color and tones of your props. Crisp white works for summer seafood, the smokey blues and grays allude to cooler temperatures when a hot grilled cheese and tomato basil soup can make the perfect lunch.
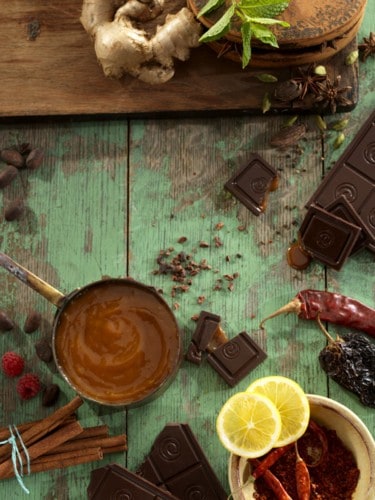
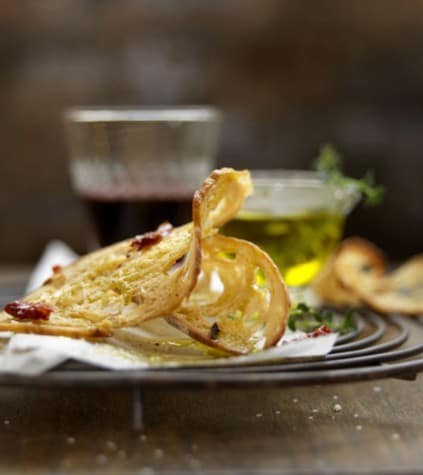
Ethnicity:
Echoing the ethnic roots of the recipe in a subtle way gives it a sense of place and tradition.
In both of these shots I worked with stronger, earthier textures. The food cues of red wine and herb infused oil with the crostini, and the fresh squeezed lime in the guacamole work as food props that reflect the origin of the recipes.

Person:
Think about who your recipe would appeal to. Food photos often have a feminine or masculine slant. Again, color palettes and lighting need to be considered.
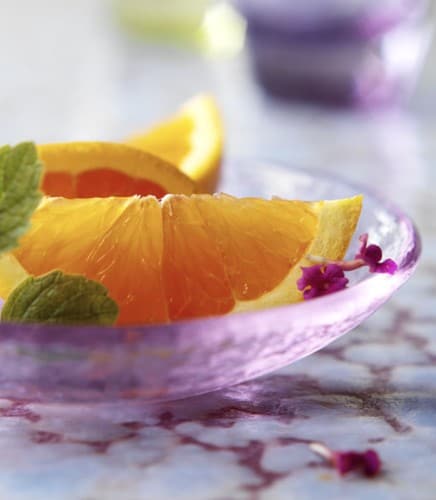
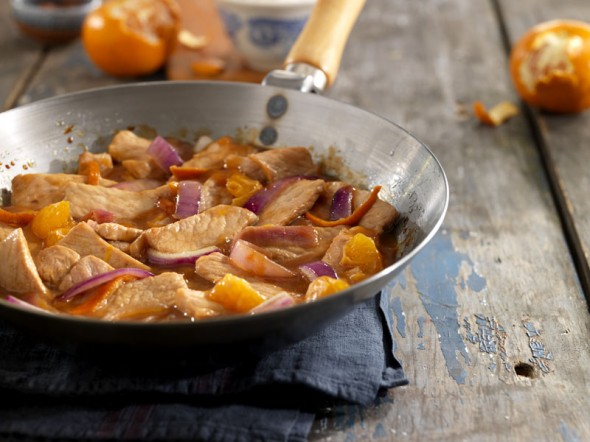
Ingredients:
Is there a wonderful or unexpected ingredient that you would like to call out, like the avocados in the pizza shot, or the tangerines used in this pork stir fry?

In my opinion, the quality of your photography is primary, effective food styling/presentation next, and propping third. The magic happens when all three work together seamlessly.
When you are just beginning to use props, try to tell your story with as few elements as possible. Don’t over-complicate until you are comfortable using more props, instead try to choose props with the subtle details that enhance and support your recipe & story. Once you become successful at that, you will be able to expand with more involved sets if you like. Mood shots and ingredient based shots will be easy to incorporate into your posts because you will have a better vision of what your final recipe image will look like, and a clearer path of how to get there.
Be patient with yourself. Prop styling is an art as complex as photography and food styling. In time you will learn to trust your eye, and develop a creative style that will guide you through your prop selections.
Thank you Sylvie, for inviting me to be a part of your Language of Food Photography series!
(Writing and photography submitted for this post are owned by Paula Walters or the originating photographer, and protected by copyright. All Rights Reserved 2011.)
Thank you Paula for an amazing look into the art of prop styling!
Read Part 1 of The Language of Food Photography | Learning the Visual Elements of Design.
Read Part 2 of the Language of Food Photography | The Principles of Design.
Read Part 4 of the Language of Food Photography | Food Styling Q&A with Tami Hardeman
What are some of your favorite props to use?

Sylvie Shirazi is the recipe developer and food photographer behind Gourmande in the Kitchen. For the last 10 years she's been making eating more healthfully easy and accessible with gluten-free, grain-free, paleo and vegan recipes that are free from processed ingredients.
Averie @ Love Veggies and Yoga says
What an amazing post!
As I sit here in Boulder, CO at Food & Light with White on Rice Couple and others, learning from great teachers, I come across your lovely post and another great photography blog.
Thanks for the inspiration, ladies!
[email protected] says
I am just going to copy and paste this tutorial, and then set it as my desktop background! 🙂 Thank you, Sylvie, for taking the time...I sooooo appreciate it!
Brian @ A Thought For Food says
I'm so glad that Sylvie introduced all of us to you, Paula. You make a lot of very helpful points here... and it has inspired me to spend more time thinking about using props in my shots.
Amanda says
Fantastic information and beautiful pictures... this series is helping me in so many ways! Thank you!
shelly (cookies and cups) says
Really another great post with some great tips!
Dwiana says
I am so in love with those props, very simple but yet create amazing photographs. Once again bravo Sylvie for inspired posting!
Maris (In Good taste) says
What a fabulous guest post! Very interesting and informative!
Chef Dennis says
Wow! Sylvie, your images are stunning, thank you so much for having this great series and for having Paula here today. There is so much more than just point and shoot, there is just so much to learn, and thank you for helping with the lessons. I am going back to read the rest of the series and will be sharing the link with my readers today!
Cheers
Dennis
Sylvie says
Thank you Dennis, I'm glad you found it helpful, Paula did such an amazing job didn't she? Just one note, the images in the post are actually from various photographers with which Paula has worked with throughout the years, not mine.
Rosa says
Thanks for the interesting post! Very helpful and clear. I really enjyoyed reading it.
Cheers,
Rosa
Sneh | Cook Republic says
Once again a wonderful and informative post! Love this series 🙂
ivy style33 says
Dear Sylvie,
after reading silently the previous parts, am finally speaking out loud to congratulate you for all these wonderful series!
I especially like today's post cause props is my favorite part, matching my design oriented nature.
Wonderful photos + useful tips, simply stated + greatly illustrated.
Wishing you a lovely day ahead & of course happy August!
Kind regards,
Iro